How to Create Apply Button in Tableau
In this post, I'll show you how to create an Apply button in Tableau to improve performance and user experience by preventing the dashboard from re-rendering every time a filter is changed.
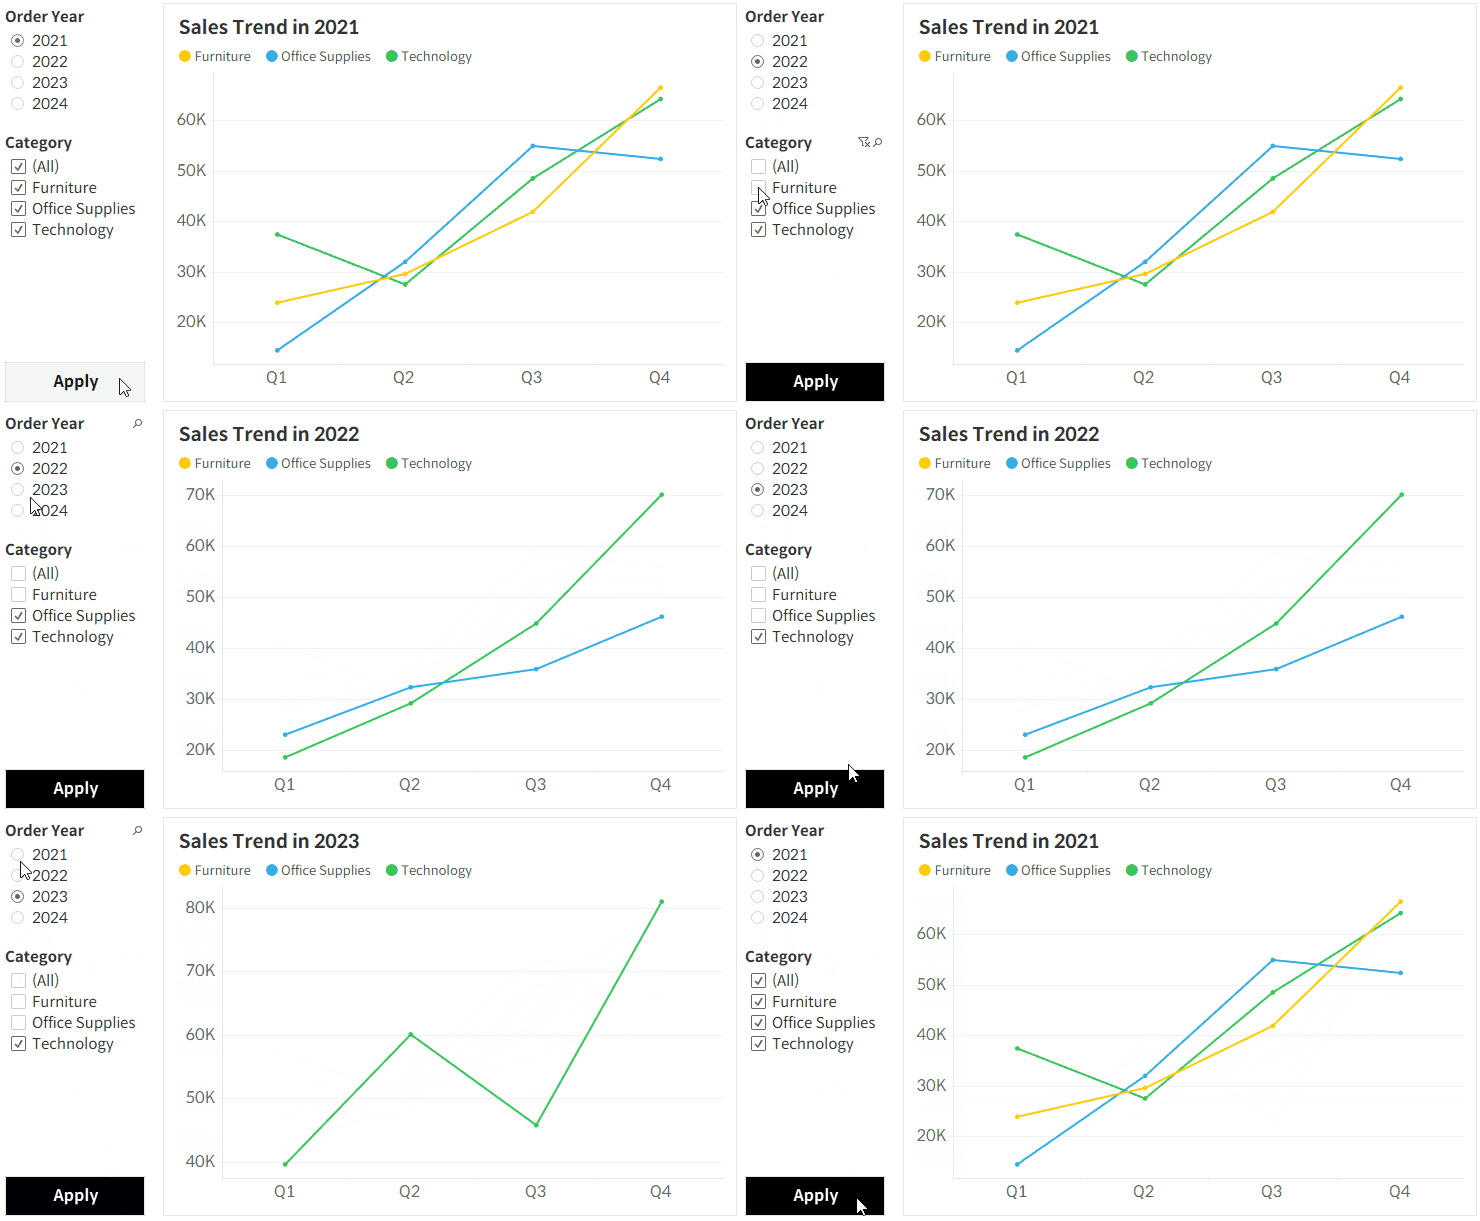
When a Tableau dashboard has many filters and is data-heavy, each filter adjustment can cause the screen to refresh, slowing things down. To solve this, you can add an Apply button that applies all filter changes at once, improving overall usability. Here’s how to do it.
💡
I’ll cover two methods: using Parameters and Sets.
Step-by-Step: Creating Apply Button
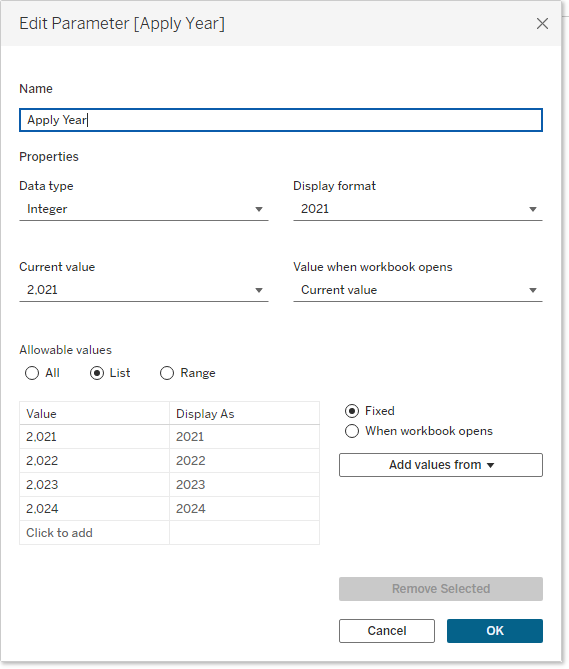
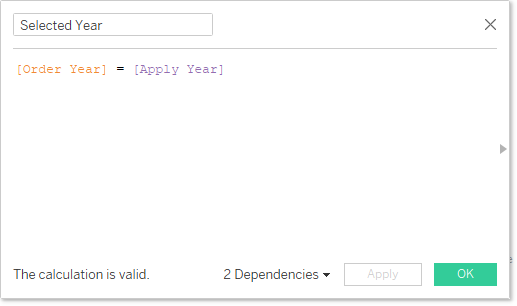
- Create a field for the parameter method.
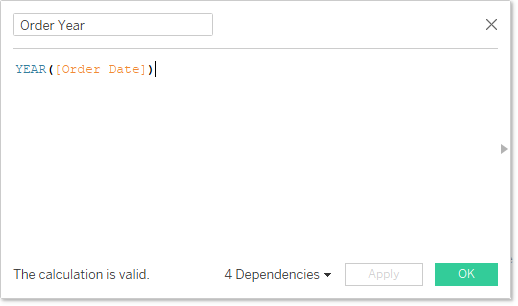
- Create a field for the set method.
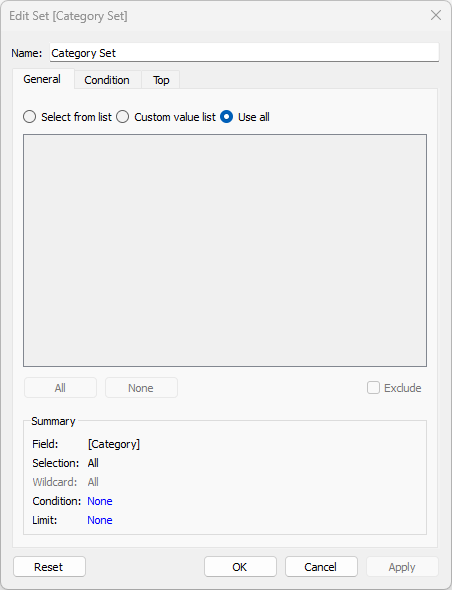
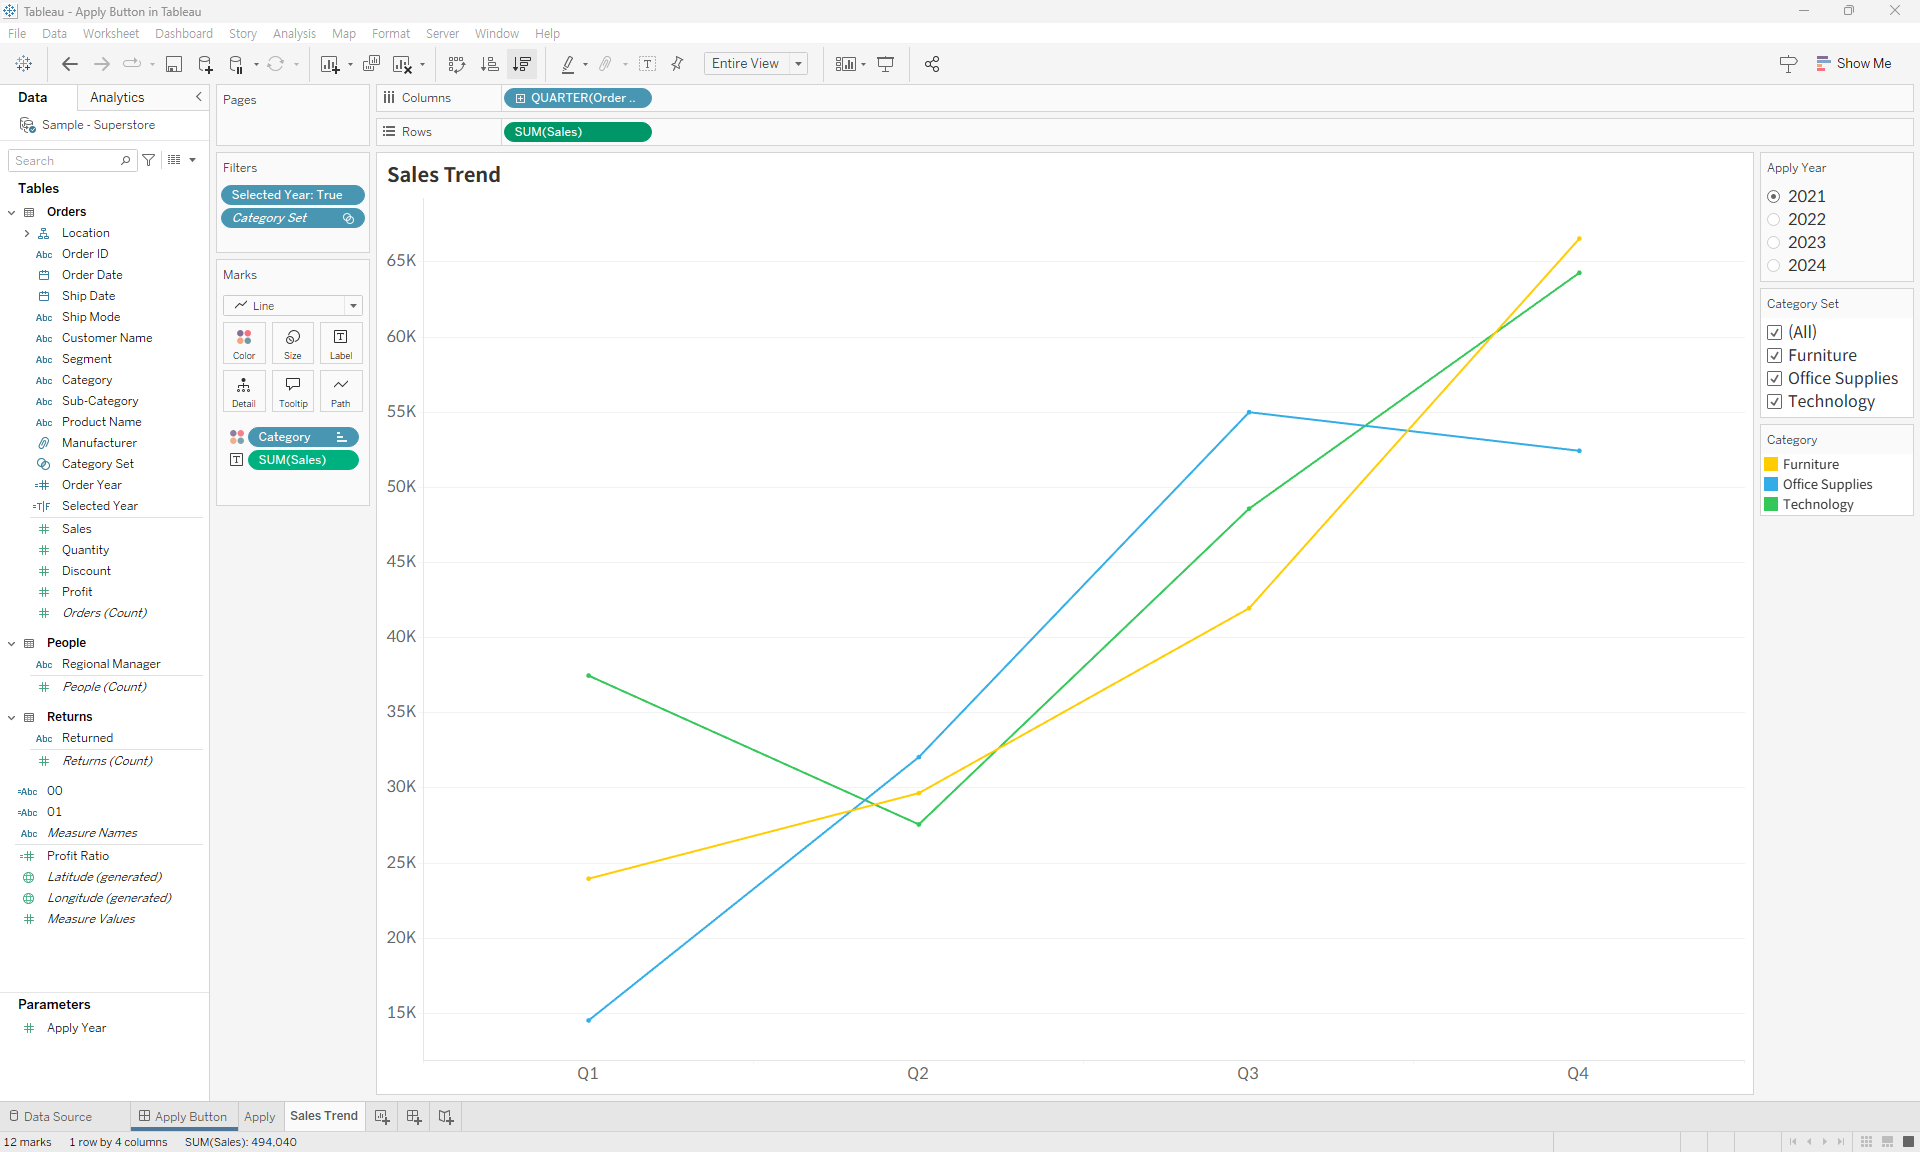
- Add these conditions to the filter shelf and create a worksheet.
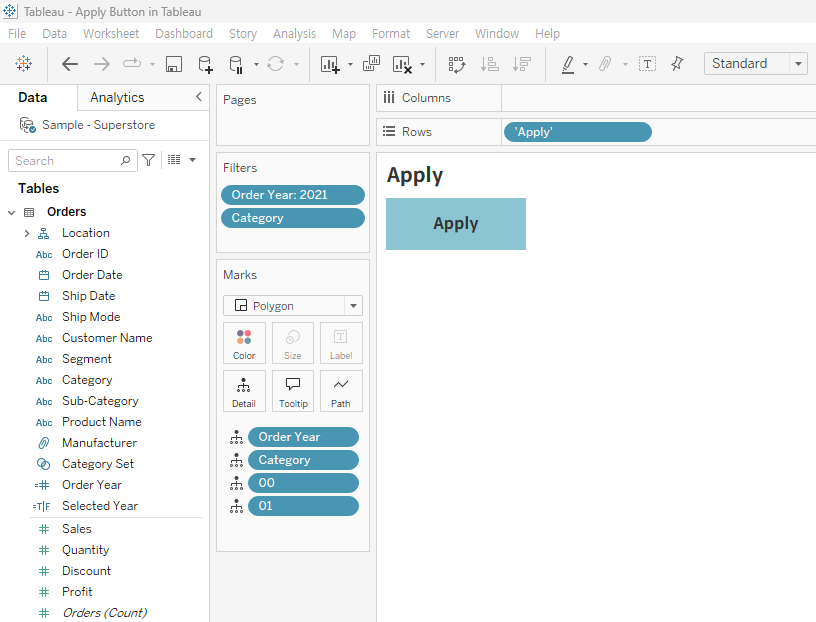
- Create a worksheet that will act as the Apply button.
- Marks: Polygon
- Arrange the worksheets appropriately on the dashboard.
(Use the field from the Apply sheet as a filter.)

- Set up the Dashboard Action to pass the 'Order Year' value to the 'Apply Year' parameter.
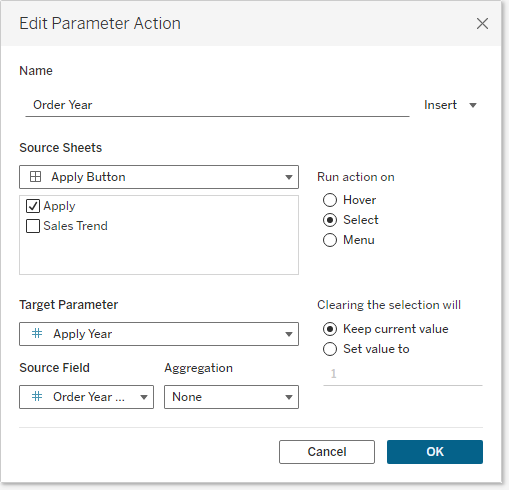
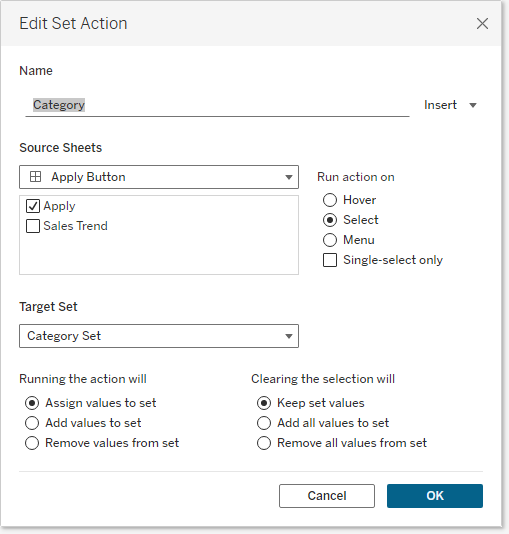
- Set up the Dashboard Action to pass the 'Category' value to the 'Category' set.
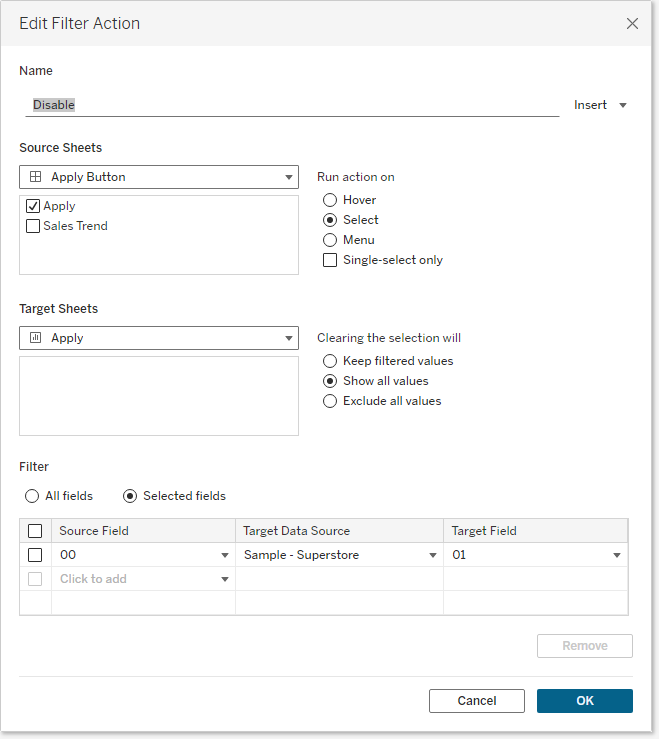
- Add an action to disable selection on the Apply button.
How to Disable Selection Highlighting in Tableau
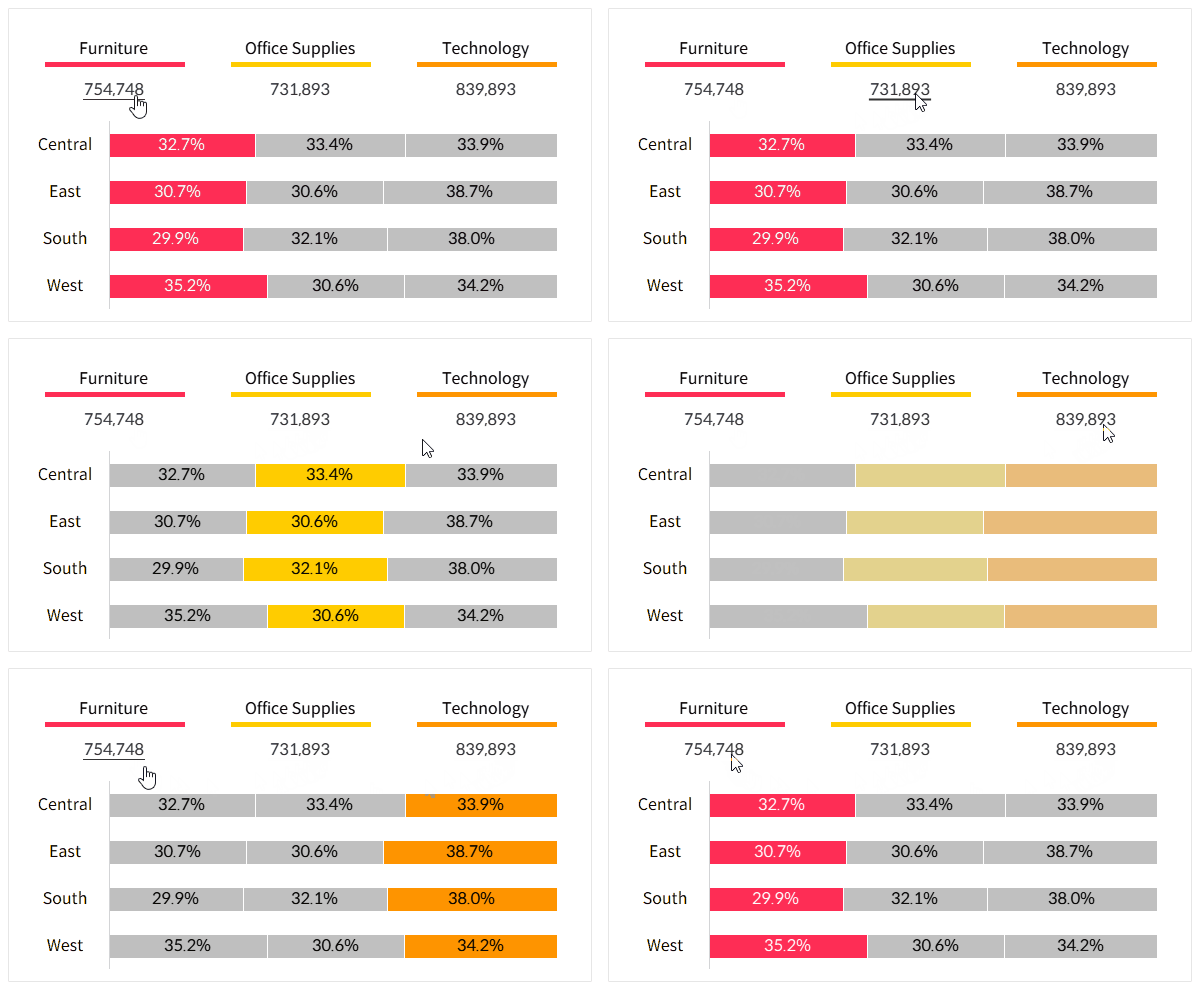
This is how you can prevent the blue shading highlight that appears when selecting a specific area on a dashboard for interaction.
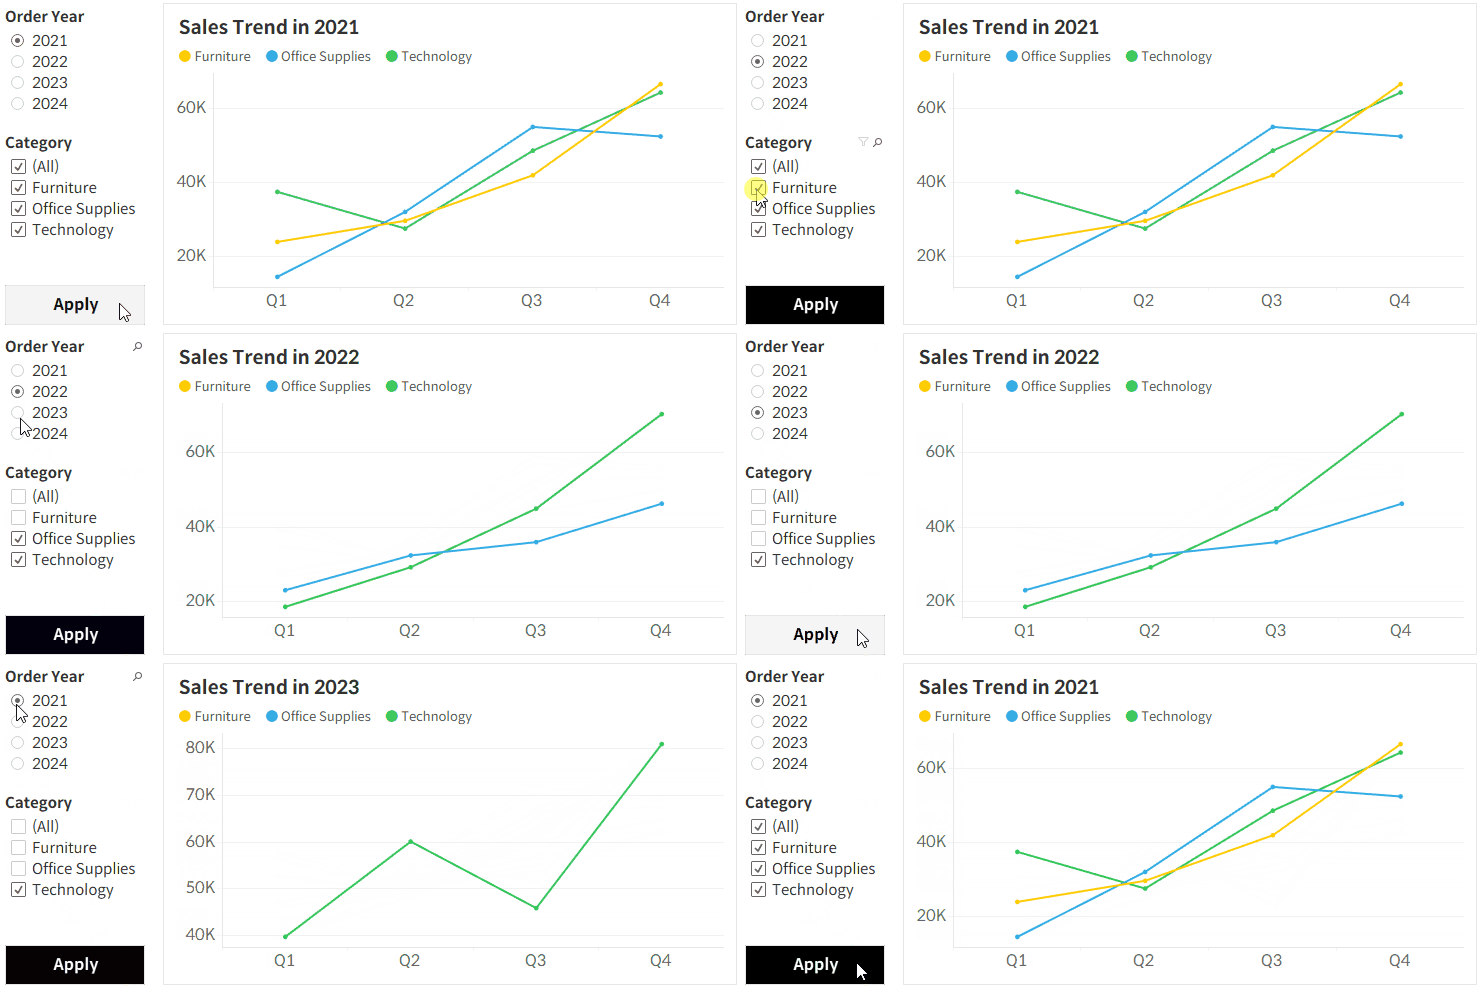
- Test the button to make sure it works properly.
For more details, you can download and review the Tableau file below.
