How to Create Calendar Picker in Tableau
This guide explains how to create a calendar-style sheet to make date selection more intuitive and user-friendly using Tableau.

Tableau dashboards offer various ways to select dates, including filters, parameters, single-date selection, or selecting a start and end date.
In this post, we'll focus on creating a calendar-style date picker for single-date selection, allowing users to select dates more intuitively.
Step-by-Step: Creating Calendar Picker
As an example, we’ll create a dashboard to display customer lists based on the selected date. This method is particularly useful for users focusing on recent single-date data. We recommend designing a compact calendar and placing it in the filter section of your dashboard.
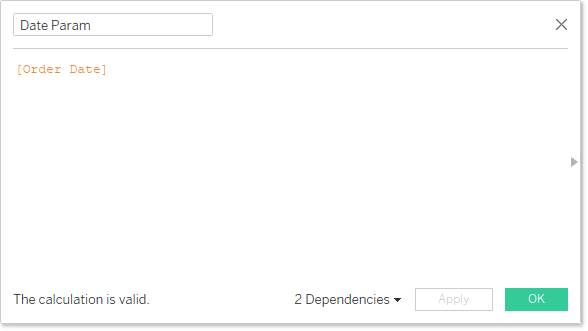
- Create a parameter to capture the selected date.
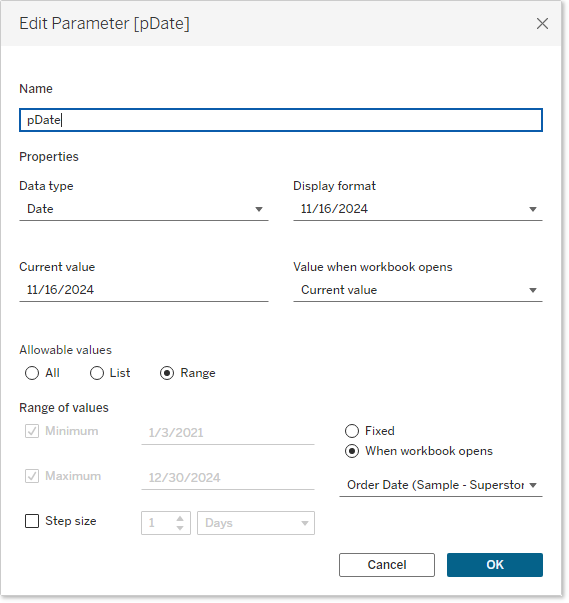
- Build a filter that applies conditions based on the selected date.

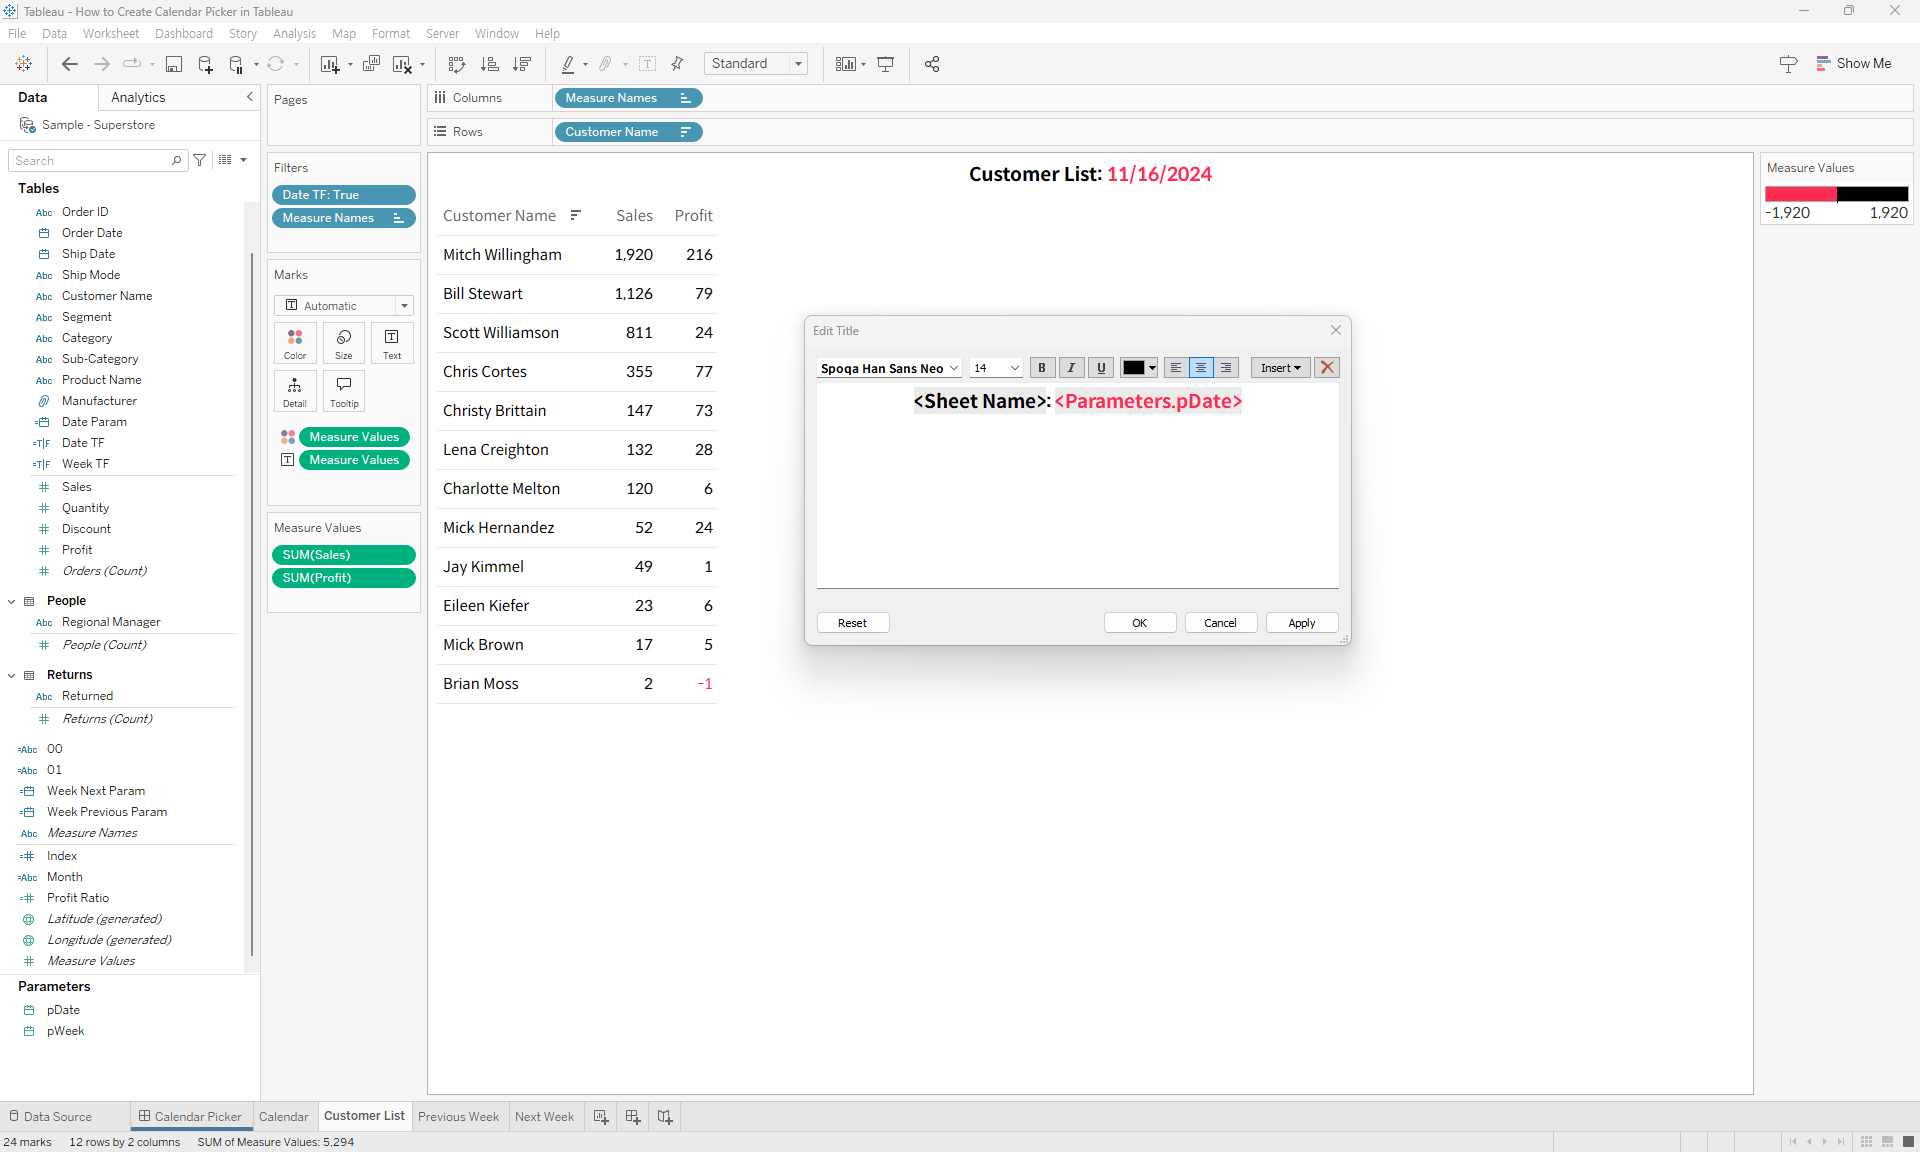
- Create a sheet to display the customer list filtered by the selected date.
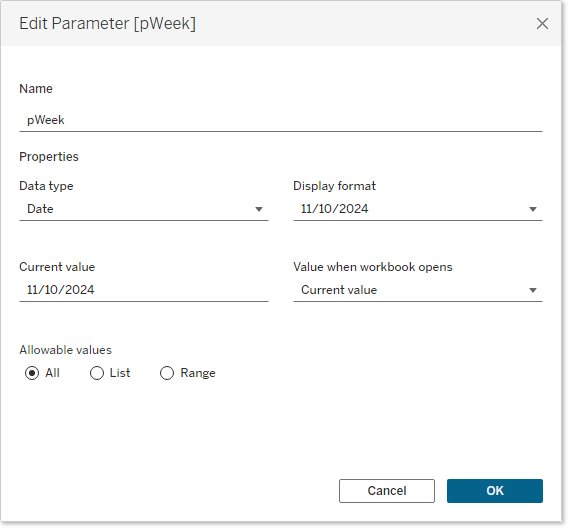
- Create a week parameter for the calendar sheet. This parameter allows the user to navigate between weeks independently of the selected date parameter.
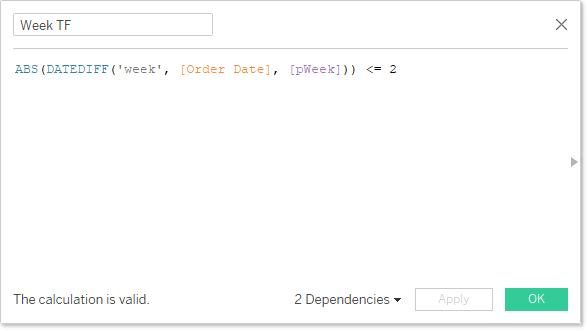
- Define a calculated field to display five weeks of dates around the week in the week parameter (e.g., ±2 weeks). This calculation identifies dates where the absolute difference from the parameter’s week is less than 2. Adjust the range as needed.
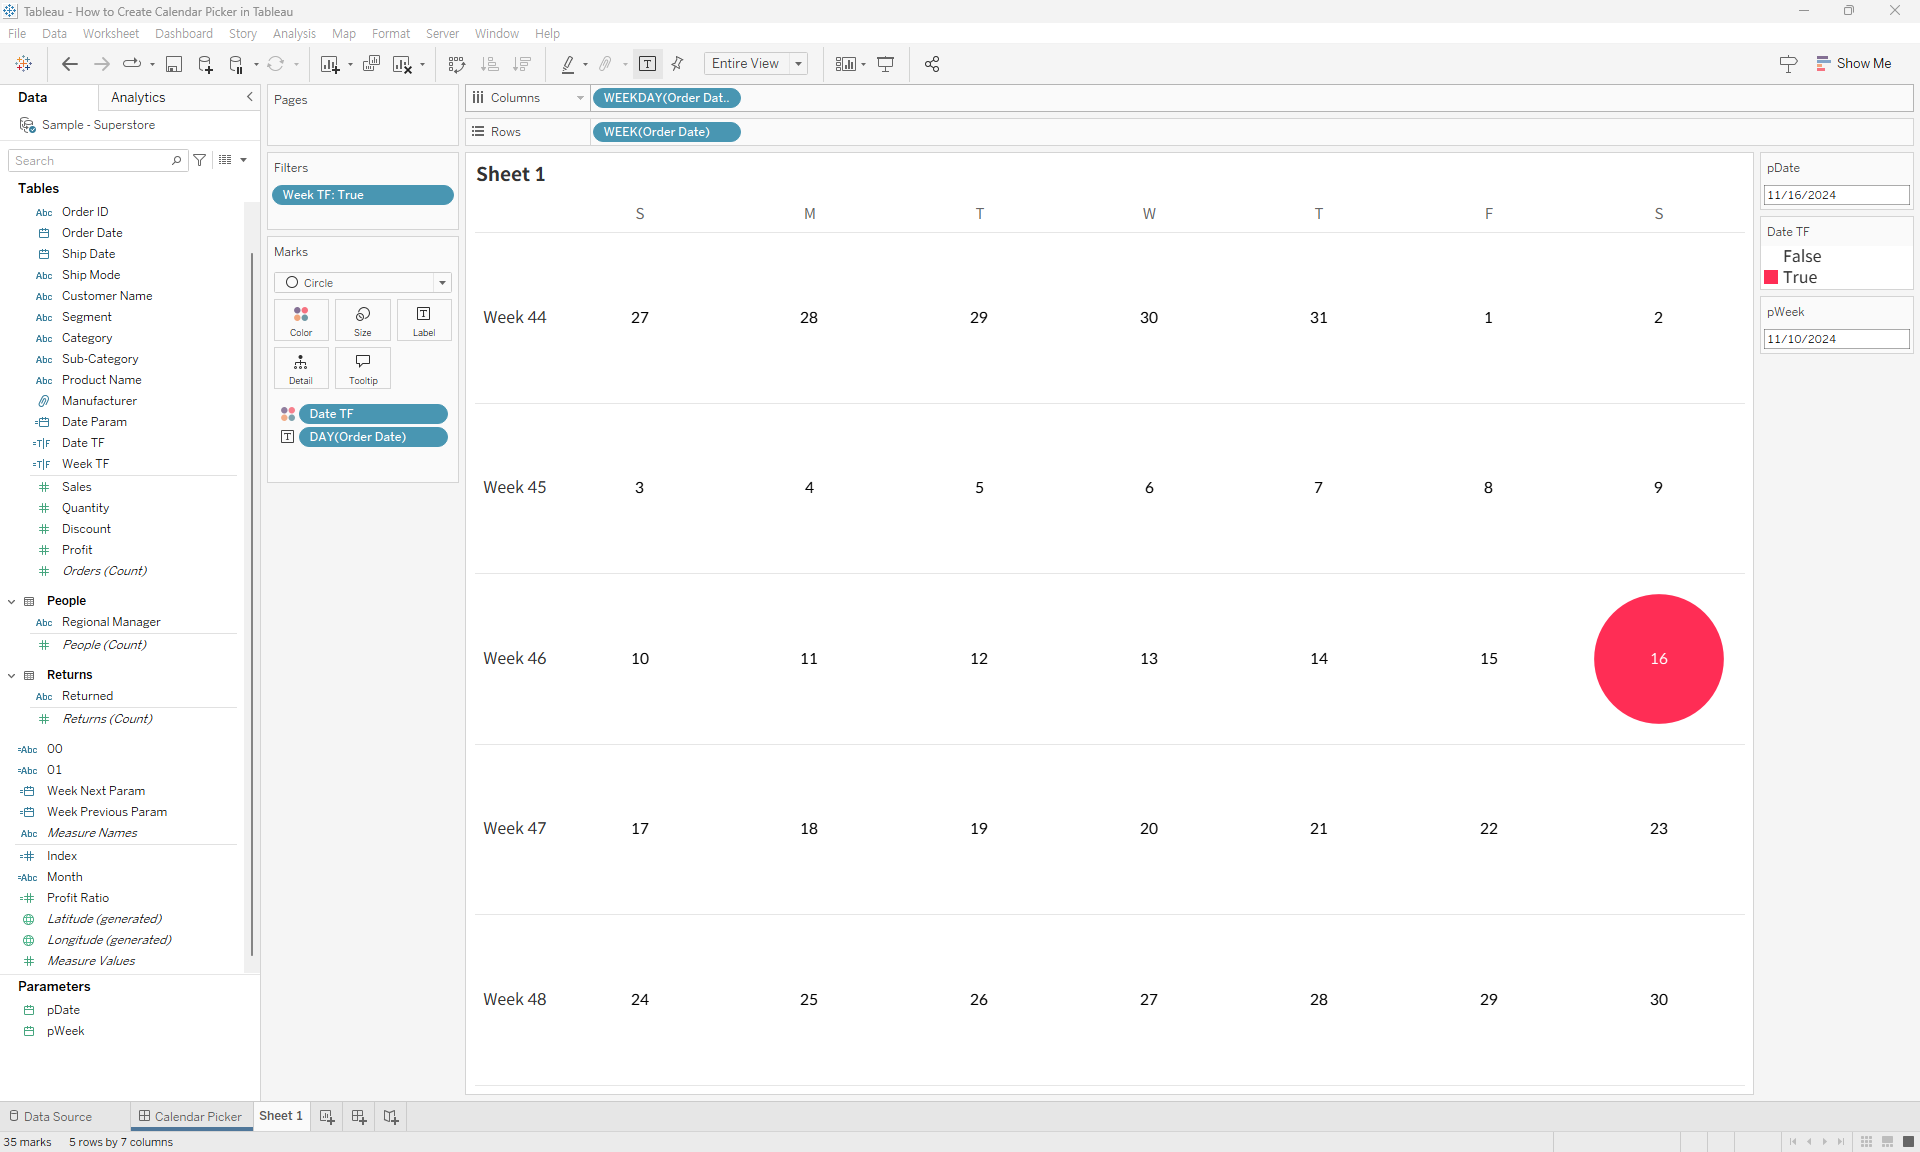
- Build the calendar sheet:
- Place Week Number on the rows shelf and Weekday on the columns shelf.
- Add Day to the text shelf to display individual days.
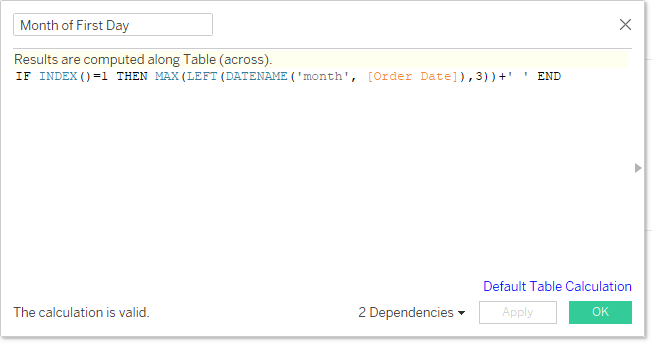
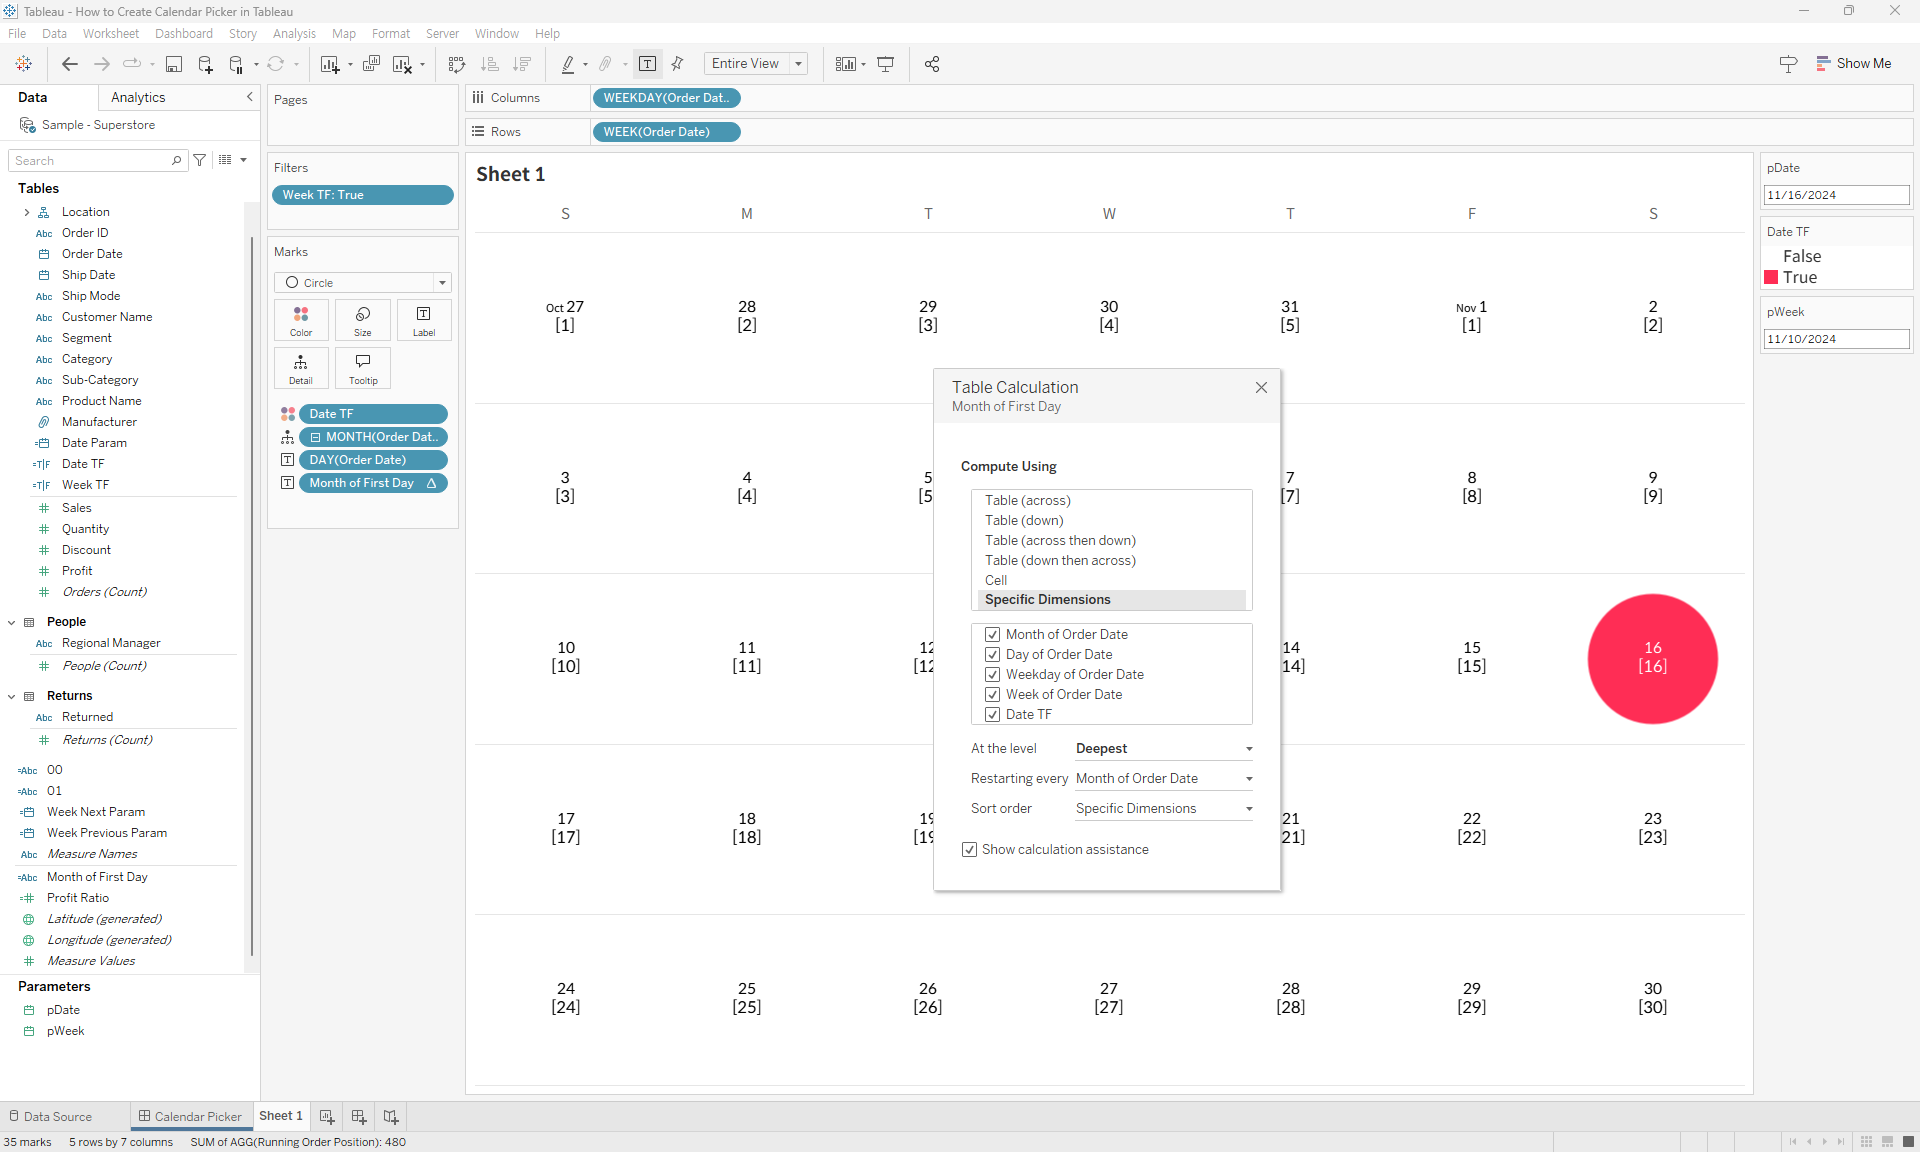
- Indicate the month for each date. Create a calculated field to display the month name only for the first day of each month. Add the Month field to Detail to reset the
INDEX()table calculation for each month.
- Add the date field for dashboard actions to pass the selected single-date value.
- Create two navigation buttons for week navigation:
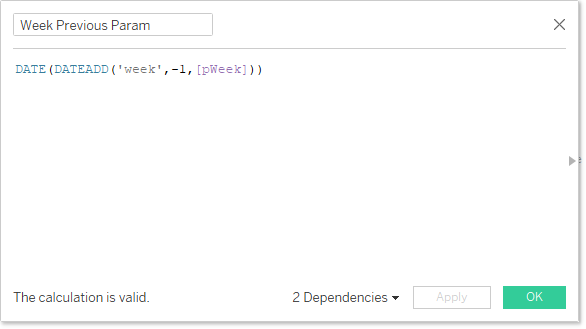
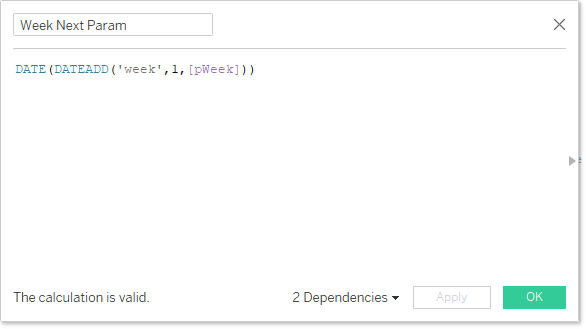
- Add buttons to increase or decrease the week parameter by one week using calculated fields.
- Place the sheets in your dashboard and organize them.

- Set up dashboard actions:
a. Calendar sheet → Update the date parameter.
b. Previous week button → Update the week parameter (decrement by 1 week).
c. Next week button → Update the week parameter (increment by 1 week).
- Add an action to disable selection highlights triggered by button clicks.
- Finalize your dashboard.

This method ensures a user-friendly way to select dates while maintaining a clean and compact dashboard design.